Design Your Own Labels
Design your own case labels and pallet tags with data fields and barcodes, check them, print a test label and approve them for printing.
- 15 steps
- Also built into myPTI
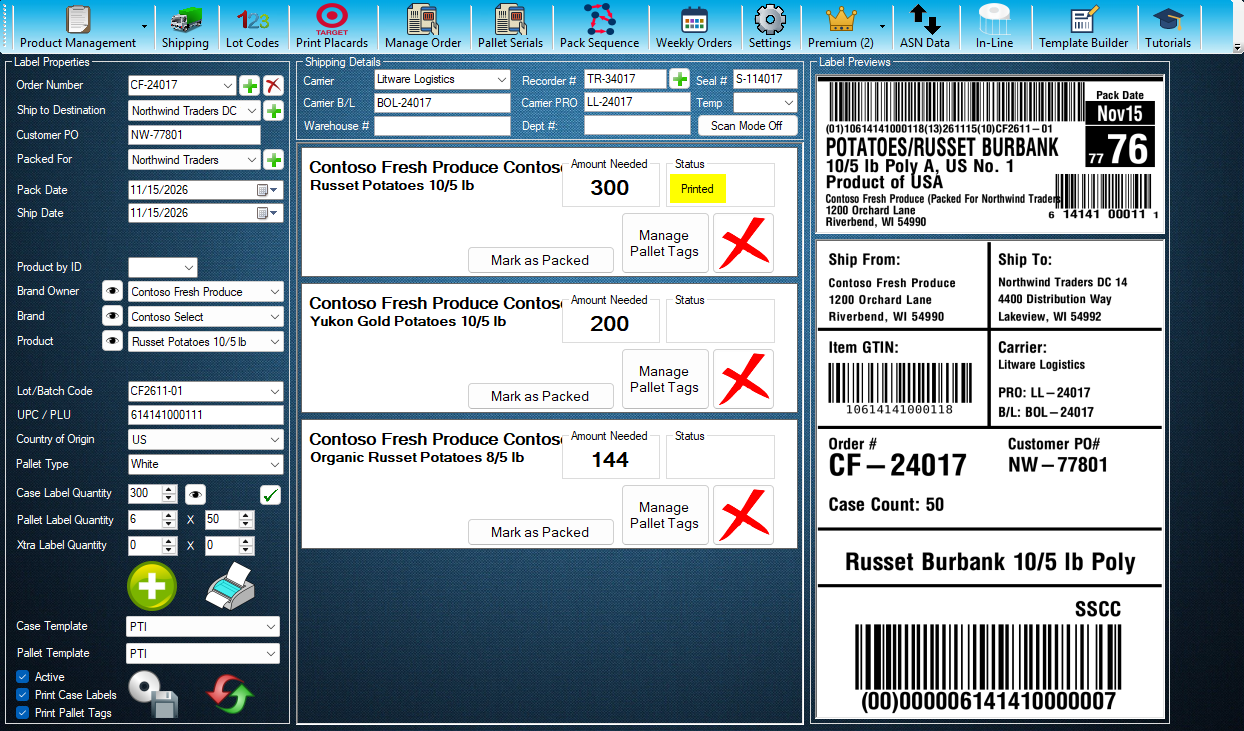
Step 1 / 15
Template Builder
Template Builder is a myPTI Premium feature. It is in the Premium menu, and on the toolbar. Open Premium to go on.
Click the highlighted control, or press Next.
Step 1 of 15: Template Builder
All 15 steps
Every step, as text
The same steps as the interactive tutorial above. Select a step to open it there.
- 01Template BuilderTemplate Builder is a myPTI Premium feature. It is in the Premium menu, and on the toolbar. Open Premium to go on.
- 02Open Template BuilderPress Template Builder. Without Premium you can still look around: Template Builder opens just for this tutorial and closes when it ends.
- 03TemplatesYour company's own case labels and pallet tags. Search them, or click one to open it. Duplicate, Rename, Export and Delete are under the list.
- 04+ New TemplateStarts a template: pick Case Label or Pallet Tag, its size and name, and a blank label or a starter layout. Import, just left of it, opens a template file someone sent you.
- 05ToolsSelect picks objects; Text, Data Field, Barcode, Box, Line, Circle and Image add them. Then Undo, Redo, Align, Order, Duplicate and Delete. Show, Grid and Snap are at the right.
- 06Data FieldsThe data a label can print, such as Lot Code or GTIN, each with a sample. Drag a field onto the label, or double-click it to add it in the middle.
- 07No Template OpenWith no template open, this space says why. With none made yet, press + New Template to make your first one. Its label then shows here.
- 08PropertiesAll about the picked object: its name, place, size, rotation and data, and when it prints. With nothing picked it shows the template: its name, size and approval.
- 09ChecksAfter every change the label is checked at 203, 300 and 600 dpi. This line says it fits, or how many things to check. Click that to see them and pick one.
- 10Exact PreviewShows the label exactly as it prints, at 203, 300 or 600 dpi, with sample data or with the data of one of your products.
- 11Print Test LabelSends one label to the case or pallet printer, not approved on purpose, so you can check it on paper before you approve it.
- 12Approve for PrintingOnce the test label looks right on paper, approve the template. Then it prints wherever it is picked. After changes this button reads Approve Changes.
- 13Draft, Approved and ChangedDraft: never approved, so it can't print yet. Approved: what you see is what prints. Changed: the approved copy still prints until the changes are approved.
- 14Save TemplateSaves your changes (Ctrl+S). Unsaved Changes shows until you do, and Revert goes back to the last save. Saving never changes what prints until you approve.
- 15CloseClose this window when you are done. Your templates are in the template drop-downs, after the built-in ones. Only approved ones print.
Keep going
Up next
Premium Features
Keep a To-Do List for Your Crew
Add, edit and delete shared tasks, and see who added each one and when.
8 stepsStartPremium Features
Send and Read Messages
Send messages and files to your team, your company or myPTI Support, and file what you receive.
9 stepsStartPremium Features
Run a Mock Recall
Trace a lot forward to every shipment and save the mock recall report for your audits.
7 stepsStart
Ready to print your first compliant label?
Email us for a free trial account. We'll set you up, and the tutorials take it from there.